
The trimmer line that refuses to come out, gets stuck in the head, or breaks every two minutes: this problem recurs with discouraging regularity, especially on entry-level models. Rather than detailing the complete replacement of the spool (which is covered everywhere), this article measures the impact of three often-overlooked variables on the smooth unwinding: the alignment of the markers, the actual diameter of the line, and the type of feed system.
Line Feed System: Tap and Go, Semi-Automatic, or Manual
Not all unwinding mechanisms are created equal. Their design determines how easily the line comes out of the head, as well as the frequency of jams during heavy use.
Further reading : Blinds, the elegant and practical touch for your interior
| Type of System | Principle | Ease of Unwinding | Risk of Jamming |
|---|---|---|---|
| Tap and Go | A tap on the ground releases a catch that allows the line to unwind by centrifugal force | High, no need to stop the engine | Low if the line is the correct diameter |
| Semi-Automatic (Spring) | The internal spring retracts the spool, the line advances in calibrated bursts | Medium, depends on the tension of the spring | Medium, especially after a too-tight winding |
| Manual (Free Cutting) | Pre-cut strands inserted directly into the eyelets | Quick to reload, but no advance during use | Almost none (no spool), but the line wears out quickly |
The Tap and Go system remains the most reliable for uninterrupted unwinding, provided that the internal mechanism is clean. On entry-level models, the return spring is often thinner, which leads to jams after a few hours of use. A simple cleaning of the head (grass wrapped around the shaft, dust in the catch) resolves most of these incidents.
Knowing how to unwind the line of a trimmer without disassembling the head relies first on understanding this feed mechanism. In contrast, on a manual head with free strands, the question does not arise since there is no spool to unwind.
Related reading : Tips for Writing Good Afternoon in Your Messages and Emails
Alignment of Markers and Winding Direction: Two Adjustments That Change Everything
The most frequent field reports point to the same cause of jamming: a line wound in the wrong direction or inserted without respecting the markers of the head. The triangles, arrows, or lines molded into the plastic of the spool are not decorative.
Align the Markers Before Inserting the Line
On most cutting heads, aligning the triangles with the arrows allows the line to be inserted without disassembling the head. This action takes a few seconds and avoids removing the spool at every reload. Recent video content from practitioners confirms this manipulation as the quickest way to resume work after a line break.
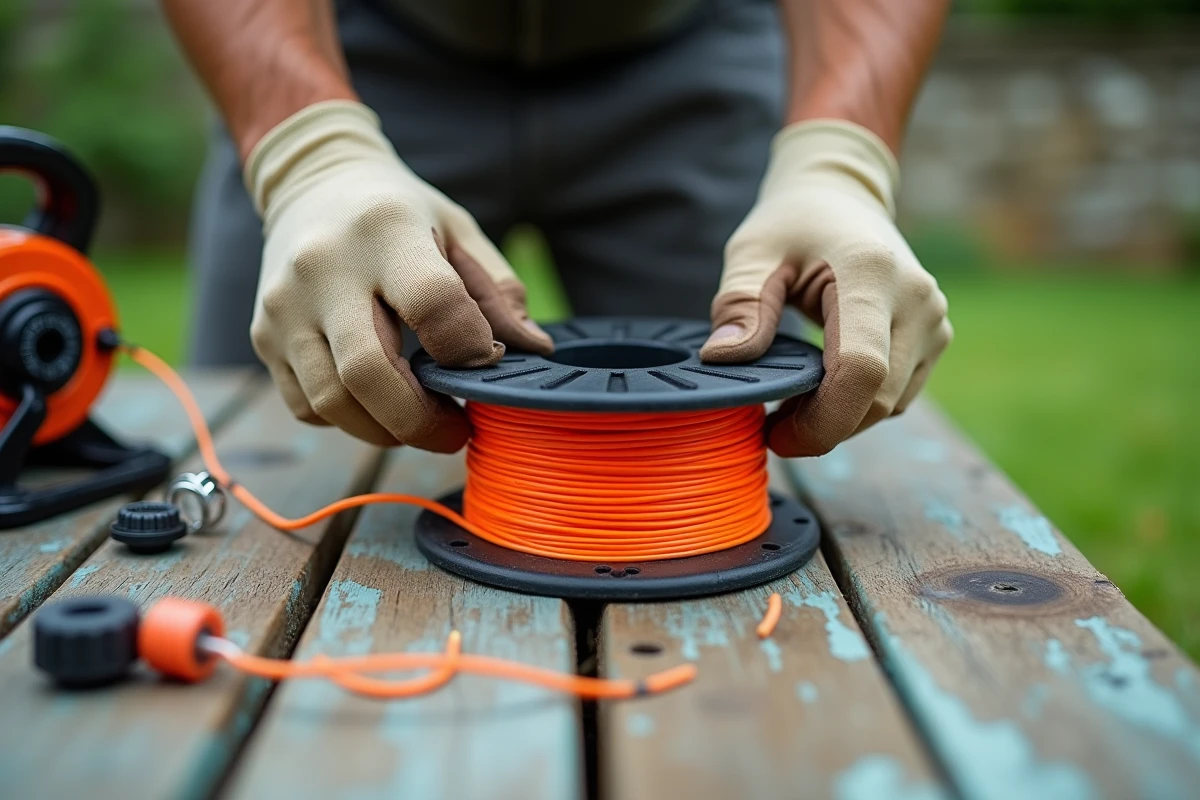
Winding Direction and Tension of the Line
The winding direction is indicated by an arrow engraved on the spool or inside the casing. A line wound in the opposite direction jams at the first use. Two common mistakes exacerbate the problem:
- Winding too quickly, which creates overlapping coils that jam the line under centrifugal pressure
- Leaving slack between the first coils, which causes uneven winding and jerky unwinding
- Crossing the two strands in the separation groove, making the unwinding of the second strand nearly impossible
A slow winding, coil against coil, with a slight tension on the line between the thumb and index finger, results in smooth and predictable unwinding. This action may seem trivial, but it is the variable that separates a line that comes out cleanly from one that breaks every three minutes.
Diameter and Length of Line: The Thresholds Not to Exceed
The majority of consumer trimmers use a line of 2 to 2.7 mm in diameter. This parameter directly affects the smoothness of the unwinding.
A line that is too thick for the head slows down the motor and forces the feed mechanism. The line comes out with difficulty, or not at all. Conversely, a line that is too thin breaks on first contact with a hard obstacle (concrete edge, gravel, stump).
- Check the maximum diameter accepted in the manual or on the casing of the head before purchasing line
- Follow the recommended line length by the manufacturer for the spool: excess line compresses the coils and blocks unwinding
- Prefer a round line for versatile use, a serrated or star-shaped line for tall grasses (the serrated profile grips more in the groove on some cheap heads)
- Store the remaining line away from heat and direct sunlight, as dehydrated nylon becomes brittle and rigid
A line stored too long in the sun loses its flexibility and breaks much faster. Soaking a rigid line in warm water for about twenty minutes restores some of its flexibility, a useful reflex before rewinding a line at the end of the season.
Maintenance of the Cutting Head: What Prevents Recurring Jams
The line itself is rarely the sole culprit of difficult unwinding. The internal condition of the cutting head determines the regularity of the line feed throughout the duration of use.
Wet grasses and fine soil accumulate around the shaft and in the exit eyelets. On a Tap and Go model, this accumulation prevents the catch from releasing the spool during the tap on the ground. The typical symptom: you tap on the ground, nothing comes out, you tap harder, the line unwinds suddenly over an excessive length, then the cutting blade immediately cuts it.
A quick rinse of the open head after each long session, followed by air drying, is enough to keep the mechanism functional. On entry-level models where the plastic of the spool is softer, also check the wear of the guiding grooves. Worn grooves allow the line to wander and cause overlapping coils that are impossible to correct without replacing the spool.
The last point to monitor concerns the exit eyelet of the line. A chipped eyelet from a shock creates a sharp edge that cuts the nylon with each pass. The line weakens at a specific point, then always breaks at the same length. Replacing an eyelet costs a few euros and resolves a problem that many wrongly attribute to the quality of the line.